
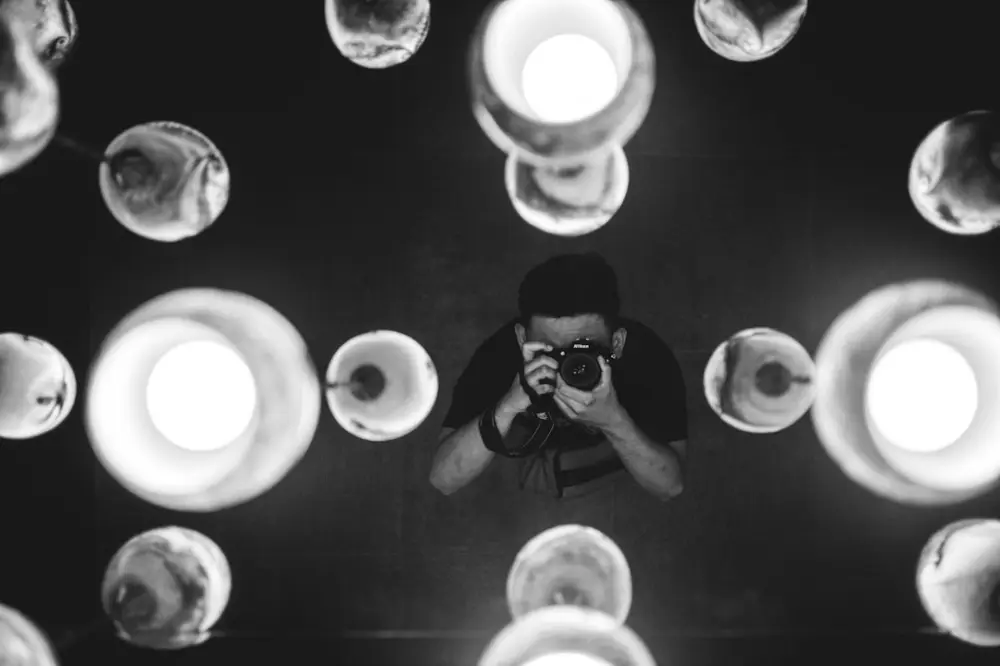
Choosing light for your photographic intention is the deliberate selection of illumination to meet a specific creative goal. It involves analyzing light quality, direction, and color temperature to evoke specific emotions or emphasize subjects. This process ensures that technical settings—like aperture and shutter speed—align with the visual narrative you want to convey in the final frame.
When you approach a scene with a specific intent, you move from reacting to available light to proactively managing it. This might mean waiting for the sun to drop below the horizon to achieve a specific tonal range or using a reflector to fill in shadows on a subject’s face. The goal is to make the light work for your composition rather than letting it dictate the limits of your image.
Intentional lighting requires a keen eye for how light interacts with different surfaces. For example, a photographer aiming for a gritty, urban feel might seek out the harsh, top-down light of midday in a narrow alleyway to create deep, geometric shadows. Conversely, someone looking for a soft, ethereal look would choose the diffused light of an overcast afternoon. Utilizing practical methods for recognizing tonal values allows you to see these opportunities before you even click the shutter. By understanding how highlights and shadows relate to one another, you can predict how a camera sensor will interpret the scene.
First Steps for Mastering Intentional Lighting
Developing a professional eye requires a systematic approach to every scene. To begin integrating lighting intent into your workflow, follow these actionable steps:
- Start by observing the direction of the primary light source and how it creates shadows across your subject to determine the best camera angle.
- The first step in technical setup is to identify if the light is hard or soft, which helps you decide if you need to use natural diffusion or artificial modifiers.
- To begin managing the atmosphere, identify the color temperature of the environment and adjust your white balance to either enhance or counteract the natural hue.
- Then, evaluate the dynamic range by looking for the brightest and darkest points to ensure your exposure settings preserve critical detail in the highlights.
- Finally, wait for the light to peak—such as during a break in the clouds or the exact moment of blue hour—before capturing the final frame.
Essential Lighting Types for Beginner Photographers
To master intentional lighting, you must first recognize the fundamental types of ambient light available in the field. Natural light is rarely static; it shifts in intensity and color throughout the day. Direct sunlight creates hard light, characterized by sharp transitions between light and shadow. This is often used in architectural photography to highlight textures on stone or concrete. Diffused light, found on cloudy days or in the shade, offers a soft quality that is highly flattering for portraiture because it minimizes skin imperfections and reduces high-contrast distractions.
Golden hour and blue hour represent the bookends of the day and are favorites for those focusing on atmosphere. During golden hour, the low angle of the sun passes through more of the atmosphere, resulting in a warm, amber glow that adds a sense of comfort or nostalgia. Blue hour occurs just after sunset or before sunrise, providing a cool, moody palette that works exceptionally well for cityscapes where artificial lights begin to glow. A photographer’s intention determines which of these periods best suits the story—warmth and energy for a summer picnic, or cool stillness for a quiet street scene.
Creating Dynamic Effects with Light Trails and Bursts
Intentional lighting isn't limited to what is already there; it also involves how you capture movement over time. Light trails are a classic example of using long exposure to turn moving light sources into fluid streaks of color. To achieve this, a photographer might stand on a pedestrian bridge over a highway at night, using a tripod and a slow shutter speed—typically between 10 and 30 seconds. The red taillights and white headlights of passing cars become vibrant ribbons that lead the viewer’s eye through the frame.
Light bursts, or sunstars, are another way to add visual interest. By using a small aperture, such as f/11 or f/16, you can cause point sources of light to diffract, creating a star-like effect. This works with the sun peeking through tree branches or with bright street lamps in an evening scene. Understanding how ambient light affects mood and depth is crucial here; a sunstar can act as a powerful focal point that gives a sense of brilliance and clarity to an otherwise flat composition.
Best Practices for Festive and Holiday Photography
Festive environments, such as Christmas markets or holiday displays, present unique challenges because they often feature multiple light sources with varying color temperatures. The intention here is often to capture the "glow" of the season without losing detail in the shadows. Using a wide aperture like f/1.8 or f/2.8 allows you to create a shallow depth of field, turning distant holiday lights into soft, out-of-focus circles known as bokeh. This technique isolates the subject while maintaining a festive atmosphere in the background.
White balance is a critical technical choice in these scenarios. If you leave your camera on Auto White Balance, it may try to neutralize the warm oranges of incandescent bulbs, resulting in a sterile, blueish image. By manually setting the white balance to "Tungsten" or "Incandescent," you can preserve the cozy, warm feel of the lights. For example, when photographing a decorated tree indoors, turn off the overhead room lights and rely on the tree’s own illumination to create a more intimate and focused image.
Chasing Nature’s Lights: The Aurora Borealis
Photographing the Aurora Borealis is perhaps the ultimate exercise in chasing nature's ambient light. Here, the intention is to capture the ephemeral movement of solar particles interacting with the Earth's atmosphere. This requires specific gear and a deep understanding of low-light physics. A fast, wide-angle lens (f/2.8 or wider) is essential to pull in as much light as possible during a 5-to-15-second exposure. Because the aurora moves, an exposure that is too long will result in a blurry green wash rather than defined "curtains" of light.
Location scouting is part of the intentional process. In 2026, photographers often use real-time tracking apps to find areas with clear skies and high solar activity. Including a foreground element, such as a still lake in the Lofoten Islands or a snow-covered cabin in Alaska, provides scale and context. The reflection of the green or purple light on water or snow doubles the impact of the aurora, creating a symmetrical and immersive visual experience that feels grounded despite its celestial nature.
Framing Your Work to Enhance Light and Color
The way you frame a shot can change how the light is perceived. Physical framing, such as using a window, an archway, or overhanging branches, can direct the viewer’s attention toward the most illuminated part of the scene. This is often referred to as a "frame within a frame." For instance, standing inside a dark sea cave and looking out toward the sunlit ocean creates a high-contrast silhouette that emphasizes the brilliance of the exterior light. The dark interior acts as a natural border, heightening the viewer's focus on the color of the water and sky.
Beyond the camera, how you present the final image also matters. Choosing a frame that complements the dominant tones of the photograph can enhance its visual impact. A dark, minimalist frame might make the bright streaks of a light trail pop, while a natural wood frame could bring out the earthy, warm tones of a golden hour landscape. The intention is to create a cohesive visual path from the light in the scene to the way the eye enters the final printed or displayed work.
How Environmental Conditions Shape Your Final Image
Environmental factors like humidity, dust, and temperature act as natural filters for ambient light. In a humid environment, light scatters more easily, creating a soft haze that can add a sense of mystery or distance to a photograph. This is particularly noticeable in forests during the early morning. As the sun rises, its beams may become visible as distinct rays—often called crepuscular rays—as they hit the mist or fog. Capturing this requires the intention to be on-site at the exact moment the sun reaches the right angle to penetrate the canopy.
Temperature also plays a role in how we interpret light. Cold, crisp winter air often appears clearer and sharper in photographs because there is less atmospheric distortion. In contrast, the heat shimmer rising off a desert road in mid-summer can be used intentionally to convey a sense of extreme temperature and harshness. By observing these conditions and understanding how they physically alter the path of light, you can choose the right moment to capture an image that feels authentic to the environment. At Ambee App, we focus on these nuances of ambient light, helping you develop the skills to see and interpret the subtle shifts in tone and depth that define great photography.